
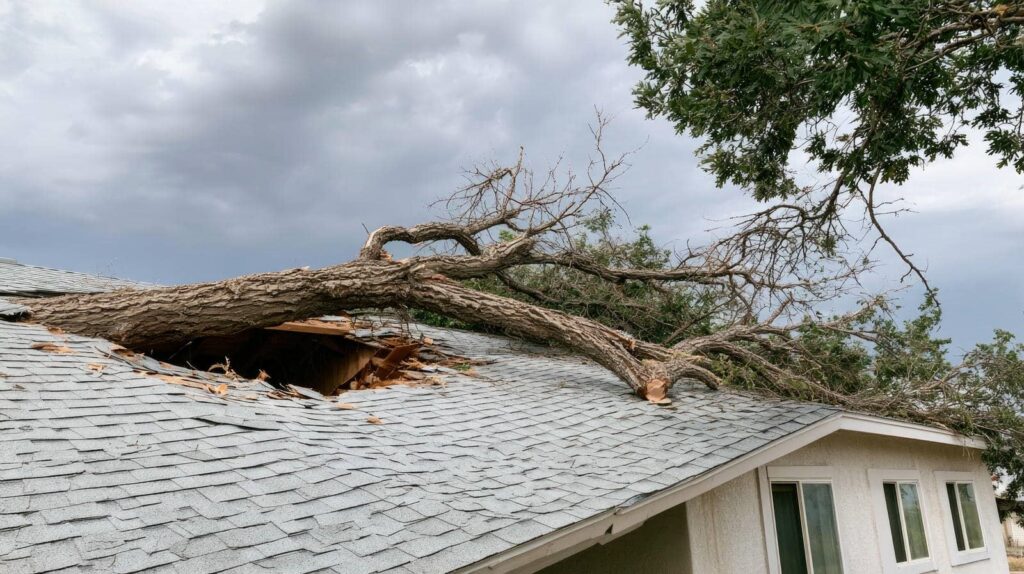
After a storm, you need to act quickly and methodically to protect your property and start the repair process on solid footing. You’ll first check for visible damage, then document every issue and arrange a detailed inspection. From there, you can file a claim, remove unsafe materials, and address hidden moisture before repairs begin. Each step matters in the storm damage repair process, and the order can affect the outcome in ways you might not expect.
Key Takeaways
- Ensure everyone is safe, then inspect the property from a secure location and document visible storm damage with photos and notes.
- Contact your insurance company promptly and provide photos, videos, damage summaries, and receipts for temporary expenses.
- Have an adjuster or contractor inspect for visible and hidden damage using measurements, photos, and moisture meters.
- Create a detailed repair plan, remove unsafe materials, dry out moisture, and repair damaged roofing, siding, windows, and other components.
- Complete a final walkthrough, verify workmanship and cleanup, then sign off and keep copies of all documentation.
What To Do After Storm Damage
After a storm hits, you should first make sure everyone is safe, then inspect your property from a secure location for visible damage.
Next, document what you can see with photos and notes, and contact your insurance company as soon as possible.
If water is entering your home, move valuables away from the area and take practical steps to limit further loss.
You should also arrange temporary protection, such as tarping exposed sections, to keep conditions from worsening.
Save receipts for emergency expenses, since they may support your claim.
During the storm damage repair process, clear communication and organized records help you stay prepared and connected.
What Happens During A Storm Damage Inspection
During a storm damage inspection, an adjuster, contractor, or roofing professional will walk your property to identify visible and hidden damage, note affected materials, and determine the scope of repairs.
You’ll usually see them check shingles, flashing, gutters, siding, windows, and interior spaces for leaks or impact marks. They may use photos, measurements, and moisture meters to document what they find, giving you a clear record of conditions.
You can expect them to explain concerns in plain language and answer your questions as they work. This process helps you understand the full extent of the damage and what your home needs next.
When you stay informed and involved, you’re better prepared to move forward with confidence and feel supported through the repair process.
How To File A Storm Damage Insurance Claim
Once you’ve documented the damage, the next step is to file your storm damage insurance claim promptly and accurately. Contact your insurer, share your policy number, and request a claim number so you can track everything with confidence.
Stay organized and keep your records together; you’re part of a process that rewards clarity and consistency.
- Report the loss as soon as possible.
- Provide photos, videos, and a brief damage summary.
- List temporary expenses and receipts.
- Note every call, email, and adjustment request.
Answer questions carefully, and don’t guess if you’re unsure. If you need help, ask your adjuster what documents they want.
Clear communication helps you stay aligned with your insurer and move forward with less stress.
How Storm Damage Repairs Work
Storm damage repairs start with a thorough inspection, because a contractor needs to identify both visible and hidden problems before work begins. You’ll usually see the team document damage, mark affected areas, and create a repair plan that fits your home’s needs.
Next, they remove unsafe materials, dry out moisture, and stabilize the structure so problems don’t spread. After that, they repair roofing, siding, windows, drywall, insulation, and other damaged components in a careful sequence. You stay informed at each stage, so you know what’s happening and why.
Crews then match finishes, seal openings, and clean the work area so your home feels secure again. This method helps you feel supported, keeps the project organized, and restores your space with confidence and care.
Final Walkthrough And Repair Sign-Off
After the repairs are complete, you and the contractor should walk through the property together to confirm that every item on the scope has been addressed.
Check workmanship closely, and note any gaps, cosmetic issues, or unfinished details so they’re fixed before sign-off. This step helps you feel confident that your home is restored and that you’re part of a careful, respectful process.
- Verify roofing, siding, and exterior sealing.
- Test doors, windows, and other moving parts.
- Review paint, drywall, and interior finishes.
- Confirm cleanup, debris removal, and documentation.
Ask questions if anything looks off, and request written confirmation of completed repairs.
Once you’re satisfied, sign the completion form, keep copies for your records, and move forward knowing your property and your peace of mind are protected.
Frequently Asked Questions
How Long Do Storm Damage Repairs Usually Take?
Usually, you’ll wait days to weeks for minor repairs, or several weeks to months for major damage, depending on materials, weather, permits, and insurance. You can speed things up by responding quickly and staying organized.
Can Repairs Start Before Insurance Approves the Claim?
Yes, you can start emergency repairs before approval if you need to prevent further damage. You’ll usually document everything, save receipts, and notify your insurer first so you don’t jeopardize coverage or reimbursement.
What Permits Are Needed for Storm Damage Repairs?
You’ll usually need building permits for structural repairs, roofing, electrical, plumbing, and sometimes siding; your contractor should check local codes and handle applications. Don’t cut corners—when in doubt, get approvals first, so you fit right in.
How Do I Choose a Qualified Storm Damage Contractor?
You’ll choose a qualified storm damage contractor by checking licenses, insurance, local references, and written estimates. You should confirm experience with repairs, ask about permits, and trust someone who communicates clearly and treats you respectfully.
What Warranty Comes With Completed Storm Damage Repairs?
You’ll usually get a workmanship warranty, often one to ten years, plus manufacturers’ material warranties. You should ask for written terms, coverage limits, and claim steps so you feel confident and included.
Review
You now know the storm damage repair process step by step, from your first safety check to the final sign-off. A thorough inspection, clear documentation, and a careful repair plan keep your project on track. When you remove unsafe materials, dry moisture, and confirm every finish matches, you help your home recover fully and confidently.