
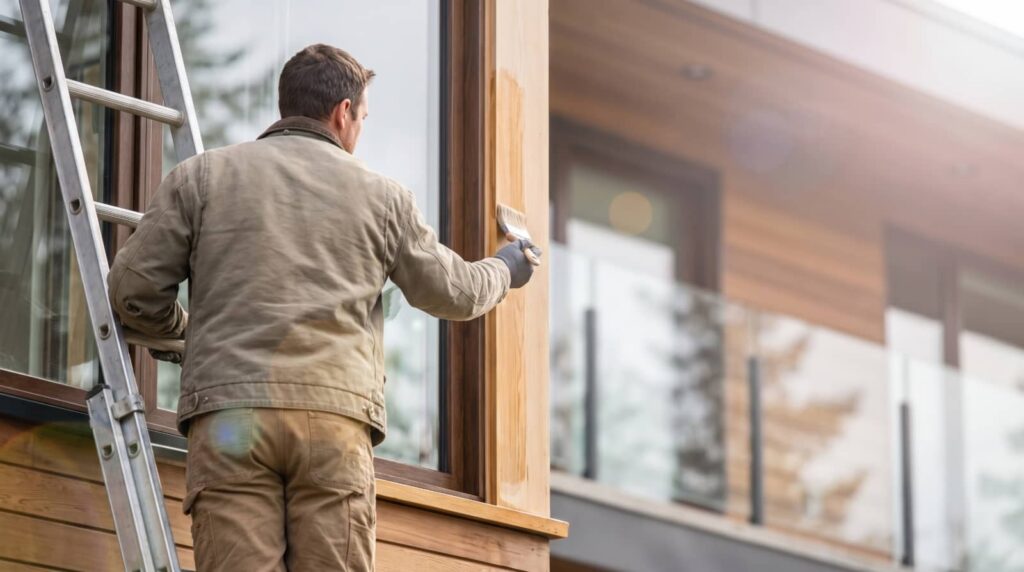
When you repair siding, small mistakes can turn into costly damage fast. You might miss hidden rot, choose materials that don’t match, or seal joints poorly enough to invite water inside. Even a clean-looking patch can fail if the texture, color, or fastening isn’t right. Knowing which issues you can handle and which ones need a pro can change the outcome, and the next step matters more than most homeowners expect.
Key Takeaways
- Inspect siding thoroughly first to catch rot, cracks, loose fasteners, and hidden moisture damage before repairs begin.
- Use matching siding materials, fasteners, and sealants to avoid warping, gaps, and warranty problems.
- Check manufacturer installation specs and allow for thermal movement to prevent buckling and premature failure.
- Match color, texture, and profile carefully so repairs blend in and age consistently with existing siding.
- Seal joints properly and call a professional for widespread damage, recurring leaks, or soft spots.
The Most Common Siding Repair Mistakes
The most common siding repair mistakes often start with skipping a proper inspection, matching the wrong materials, or sealing over damage instead of fixing the source.
You can avoid these common siding repair mistakes by checking each panel for rot, cracks, loose fasteners, and hidden gaps before you touch a tool.
When you replace sections, use compatible siding, nails, and sealants so expansion and contraction stay balanced.
Cut clean edges, flash joints correctly, and keep fasteners snug, not overdriven.
You’ll also want to clean and dry the area first, because trapped moisture undermines repairs fast.
If you work with care, you protect your home’s envelope, cut repeat labor, and keep your siding team strong, confident, and ready for the next job.
Why Siding Repairs Go Wrong
Siding repairs usually go wrong when you fix the visible damage but miss the underlying cause, like moisture intrusion, poor flashing, warped substrate, or incompatible materials.
You might patch a crack, seal a seam, or replace one panel, yet the failure returns because the wall assembly still traps water or moves too much.
You also run into trouble when you skip inspection, rush prep, or ignore manufacturer installation requirements. That’s when small errors spread into rot, leaks, and loose panels.
If you want your repair to last, inspect the full area, trace the water path, verify the backing is sound, and use the right fasteners and clearances.
When you approach the job this way, you protect your home and stay part of the group of owners who fix problems right.
Why Matching Siding Materials Matters
When you repair siding, you need to match the replacement material to the existing assembly so moisture movement, expansion rates, and fastening requirements stay compatible.
You also need to match color and texture closely, because visible differences can signal an inconsistent repair and reduce curb appeal.
Choosing the right match helps the repair perform longer and lowers the chance of premature failure or repeat work.
Material Compatibility
Matching siding materials matters because mismatched products can expand, contract, and weather at different rates, leading to gaps, warping, and premature failure.
You need to verify that replacement panels, trim, fasteners, and underlayment are approved for the same system or at least share similar thermal movement, thickness, and moisture tolerance.
If you mix materials without checking manufacturer specs, you can trap water, stress joints, and void warranties.
Choose compatible components so your repair behaves like the existing wall assembly and stays in step with your home’s structure.
When you’re unsure, compare product data sheets and ask a siding pro to confirm the match.
That simple check helps you protect your investment, avoid repeat work, and keep your home in the neighborhood looking solid and well cared for.
Color And Texture Match
Even if the replacement panels fit physically, a poor color or texture match can make the repair stand out and age the whole wall unevenly.
You want the new section to blend with the existing façade so your home looks cared for, not patched.
Compare the profile, grain, sheen, and factory finish under natural light before you buy. If you can, bring a sample from an inconspicuous area and test it against the replacement piece.
You may need to order from the same manufacturer or batch to get a close match.
When exact matching isn’t possible, place the repair in a less visible area and feather adjacent trim or paint to reduce contrast.
That approach helps your siding look unified and keeps your home’s curb appeal strong.
Long-Term Performance
For long-term performance, you need repair materials that work with the existing siding, not just ones that look close on day one. Different products expand, contract, and drain moisture at different rates, and that mismatch can crack joints, trap water, and loosen fasteners.
You’ll avoid those problems when you match thickness, density, coatings, and fastening requirements to the original system. That keeps your wall assembly breathing and lets panels move together through seasonal changes.
If you’re replacing damaged sections, verify manufacturer specs, substrate compatibility, and sealant recommendations before you buy. This approach protects warranties, reduces repeat repairs, and helps your exterior stay solid for years.
When you choose materials that belong together, your home performs better, and you stay part of a neighborhood that maintains value.
Siding Repair Water Damage You Should Never Ignore
When you inspect siding, watch for hidden moisture signs like staining, soft spots, or loose seams, since these often point to water intrusion.
If you ignore trapped moisture, rot can spread behind panels and weaken the wall assembly before you notice visible damage.
Check for mold and warping early so you can fix the source, replace compromised materials, and prevent higher repair costs later.
Hidden Moisture Signs
Hidden moisture often shows up before obvious siding failure, so you need to catch the early signs before damage spreads. Check your walls like a pro and protect your home’s envelope together with your neighbors’ standards. Look for:
- Bubbling paint or swollen trim near seams.
- Damp insulation smell inside after rain.
- Soft, discolored caulk around windows and joints.
- Cooler indoor spots where exterior water sneaks in.
Use a moisture meter on suspect areas, then trace leaks from flashing, joints, and penetrations.
Don’t seal over trapped water; you’ll hide the problem and raise repair costs later. Instead, dry the area, correct the entry point, and replace compromised materials.
When you act early, you keep your siding sound and your crew of homeowners ahead of bigger repairs.
Rot Behind Panels
Rot behind siding panels is a sign you can’t afford to miss, because moisture trapped in the wall assembly keeps breaking down sheathing, framing, and fasteners long after the surface looks fine.
You need to pull back affected sections, probe the substrate, and replace any soft wood before you reattach new material. Don’t cover the damage with caulk or paint; that only hides a deeper failure.
Check flashing, joints, and penetrations so the same leak doesn’t return. If the board gives under light pressure, treat it as structural deterioration, not a cosmetic issue.
The best repairs use dry materials, correct overlaps, and tight seals, so your home stays solid and your neighborhood pride shows in every finished detail.
Mold and Warping
Mold and warped siding often means water has already worked past the surface and started compromising the wall assembly, so you need to treat it as an active failure, not a cosmetic flaw.
You’re not alone—many homeowners miss the warning signs until damage spreads. Act quickly:
- Inspect seams, trim, and penetrations for staining, swelling, or soft spots.
- Remove damaged panels and check the sheathing for moisture and mold.
- Fix the leak source, not just the visible siding problem.
- Replace compromised materials, then install proper flashing and drainage.
Don’t paint over warping or scrub mold without drying the cavity. That only hides the issue and invites repeat failure.
When you repair it correctly, you protect your home and stay in the group of owners who catch problems early.
How DIY Siding Repairs Go Wrong
When you tackle siding repairs yourself, small mistakes can quickly shorten the siding’s lifespan and drive up future repair costs. You might remove panels in the wrong order, crack locking edges, or mix incompatible replacement pieces that don’t match the original profile.
If you rush the cut lines, gaps appear at corners and trim, and the repair can look patchy instead of seamless. You’ll also risk nailing too tightly, which traps movement and invites buckling.
Check the manufacturer’s instructions before you start, measure twice, and use the right tools for clean cuts and proper fastening. When you work methodically, you stay aligned with the standards that keep your home protected and help your siding blend in with the rest of the neighborhood.
How Bad Caulking Causes Bigger Problems
A poor caulk job can undermine an otherwise solid siding repair fast, because gaps and failed seals let water sneak behind the panels and into the wall assembly.
You can protect your home by treating caulk as a weather barrier, not filler. Focus on these steps:
- Clean joints so dust and old sealant don’t block adhesion.
- Use exterior-grade caulk that matches the siding material.
- Fill the seam fully, then tool it for a tight, smooth edge.
- Inspect after rain; open joints need quick touch-ups.
When caulk shrinks, cracks, or pulls away, you invite swelling, rot, and hidden mold.
When to Call a Siding Repair Pro
Even a careful DIY repair can fall short if the damage goes beyond a few loose panels, so you should call a siding repair pro when you see widespread cracking, soft spots, warped boards, recurring leaks, or signs of rot behind the siding.
You’re not overreacting; you’re protecting your home’s envelope and your crew’s standards. A pro can inspect the substrate, identify hidden moisture paths, match materials correctly, and restore proper fastening and alignment.
If you notice trim pulling away, bubbling paint, or gaps that keep reopening, you need expert tools and training, not guesswork.
When the damage spreads across multiple elevations or involves trim, flashing, or sheathing, a qualified contractor can stop the problem before it becomes structural.
How to Prevent Future Siding Repair Costs
To prevent future siding repair costs, you need to stop small failures before they spread by inspecting your siding at least twice a year, sealing gaps around trim and penetrations, and clearing debris that traps moisture.
You’ll protect your home and stay in step with neighbors who maintain their exteriors well by following a simple routine:
- Check caulk, flashing, and fasteners after storms.
- Wash siding gently to remove algae, salt, and grime.
- Replace cracked boards or panels before water enters.
- Keep gutters, downspouts, and grading moving water away.
When you catch damage early, you reduce rot, swelling, and hidden mold.
Use compatible materials, correct nail spacing, and proper sealants so repairs last. A disciplined inspection habit keeps your siding sound and your costs predictable.
Frequently Asked Questions
How Often Should Siding Be Inspected for Hidden Damage?
You should inspect your siding at least once a year, and after severe storms or temperature swings. You’ll catch hidden cracks, rot, and moisture early, protecting your home’s lifespan and avoiding costly repairs later.
Can Small Siding Cracks Lead to Major Structural Issues?
Yes, small siding cracks can let water, pests, and air reach your wall assembly, and you can end up with rot, mold, and structural damage. Inspect them early, seal or replace damaged sections promptly.
What Signs Indicate Siding Fasteners Are Failing?
You’ll notice loose, popped, or rusted nails, gaps between panels, warped siding, rattling in wind, and shifting seams. Check fasteners promptly, because failure lets moisture in and can shorten your siding’s lifespan.
Does Climate Affect Which Siding Repair Materials Last Longest?
Yes—climate shapes which siding repair materials last longest, and you’ll want to match them like a key to a lock. In wet zones, choose rot-resistant, corrosion-proof options; in freeze-thaw areas, prioritize flexible, sealed materials.
How Long Should Repaired Siding Typically Remain Watertight?
Typically, you should expect repaired siding to stay watertight for 10 to 20 years if you install it correctly, match materials well, and maintain it regularly, so you’re protecting your home and investment.
Summary
If you skip inspection, grab the wrong materials, or treat caulk like a cure-all, your “simple” siding fix can become a bigger repair bill fast. Ironically, the cheapest shortcut often costs the most later. You can avoid that by checking for hidden damage, matching materials and finishes, sealing joints correctly, and calling a pro when cracks, soft spots, or leaks keep coming back. Do it right now, and you’ll protect your home’s structure and curb appeal.