
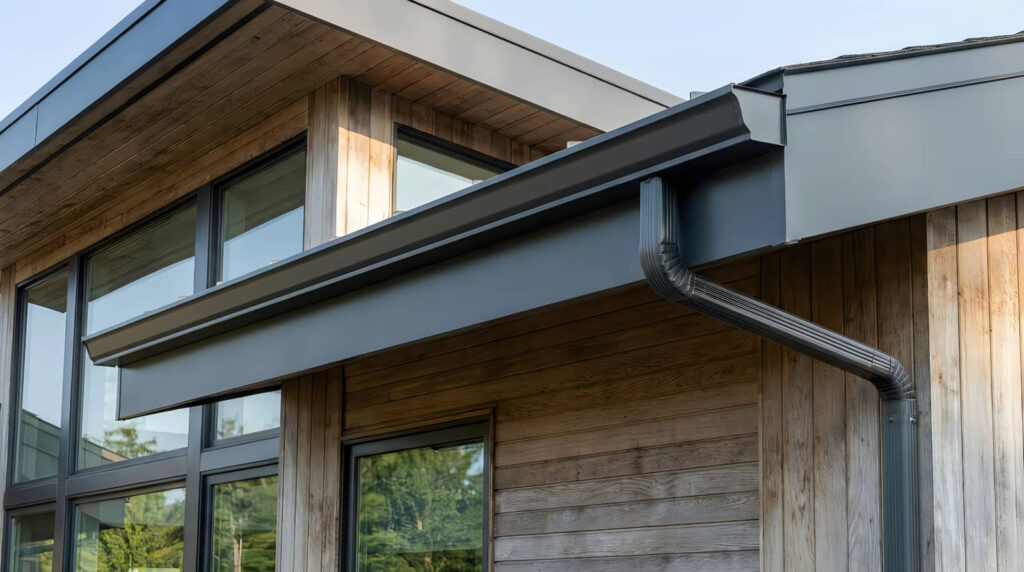
When you install gutters, small mistakes can turn into costly water damage fast. If the slope is off, the brackets are weak, or the downspouts dump water in the wrong place, runoff backs up and stresses the system. Undersized runs, poor sealing, and sagging sections only make the problem worse. The real issue is that these errors often hide until the first heavy storm exposes them.
Key Takeaways
- Incorrect gutter slope or hidden sags cause standing water, overflow, and stress on fasteners.
- Undersized gutters cannot handle heavy rain, leading to streaking, pooling, and water escaping seams.
- Poor downspout placement can send water back toward the roofline or overload a single drainage path.
- Misaligned brackets, weak fasteners, and loose joints cause sagging, leaks, and water backup.
- Bad flashing, missed seam gaps, or wrong sealant let water penetrate and damage fascia, siding, and foundations.
How Gutter Installation Mistakes Cause Damage
When gutters are installed incorrectly, water can’t move away from your home the way it should, and that puts your property at risk.
You may notice staining, fascia rot, siding leaks, and soil erosion after common gutter installation mistakes disrupt drainage. If brackets, joints, or outlet placements are misaligned, water can back up, spill over edges, and soak areas your system should protect.
That moisture can reach trim, crawl spaces, and the foundation, where repeated wetting weakens materials and invites costly repairs.
You don’t have to accept that risk; you can identify poor fit, loose connections, and inadequate capacity early.
When you choose precise installation, you protect your home, stay ahead of damage, and keep your system working with your neighborhood’s weather.
Common Gutter Slope Mistakes
Common gutter slope mistakes usually start with too little or too much pitch, and both can stop water from draining correctly. You need a consistent fall, but not a steep drop that sends water racing past debris and pooling at low spots.
If you level gutters by eye, you’ll often create hidden sags that trap standing water, add weight, and stress fasteners. You should check slope with a level and measure the run before you lock in hangers.
Aim for a controlled gradient that keeps flow moving without looking uneven from the ground. When you set the pitch correctly, you join the group of homeowners who prevent overflow, protect fascia, and keep the system working like it should year after year.
Downspout Placement Errors to Avoid
Downspout placement errors can push water back toward the roofline or dump it too close to the foundation, so you need to place each outlet where runoff can exit quickly and safely.
You should avoid clustering downspouts on one side, because that can overload a single drainage path and leave the other runs stagnant. Set each outlet at low points that match the gutter’s natural flow, and keep the discharge pointed away from walkways, patios, and the basement wall.
If you use elbows, aim them cleanly so water doesn’t splash onto siding or reenter the gutter. Confirm every downspout has a clear route to extensions, splash blocks, or drains.
When you place them well, you protect your home and fit right in with a crew that installs systems the right way.
Why Undersized Gutters Overflow
When your roof sheds more water than your gutters can carry, runoff backs up and spills over the edge.
Undersized gutters hit their capacity limit fast, especially during heavy rain or on steep, wide roof sections.
You’ll usually see overflow warning signs like streaking, pooling near the foundation, and water escaping at the seams.
Roof Runoff Volume
A heavy rain can overwhelm undersized gutters because they can’t move roof runoff fast enough, especially on steep or large roof sections. You need to understand how much water your roof sheds so you can spot overflow risk before it starts.
Runoff volume rises with roof area, pitch, and storm intensity, so even a short burst can send a lot of water to one edge. Watch for:
- long roof planes
- multiple valleys
- fast-draining shingles
- concentrated downspout zones
When you calculate runoff, you protect your home and stay ahead of the problems your neighbors hate too.
If your roof funnels water into one gutter run, that section works harder than the rest. Match drainage paths to the roof layout, and you’ll help the system carry water cleanly away from fascia, siding, and soil.
Gutter Capacity Limits
If your gutters are too small for the roof area they serve, they’ll overflow as soon as runoff exceeds their flow capacity. You need to match channel width, depth, downspout count, and slope to the roof’s design load, not guess by house size alone.
A 5-inch system can handle many roofs, but steep pitches, long valleys, and high-intensity storms often demand 6-inch gutters and larger outlets. When you undersize the system, water backs up along the fascia, then spills away from the drainage path you planned.
You avoid that problem by calculating square footage, rainfall rate, and discharge capacity together. A properly sized system keeps water moving, protects the structure, and gives you confidence that your install belongs on the house.
Overflow Warning Signs
Overflow shows up fast when your gutter system can’t move water as quickly as the roof sends it down. You’ll usually spot it during moderate rain, and that’s a clear sign your gutters are undersized or clogged.
Watch for:
- Water sheeting over the front edge
- Splash marks on siding or fascia
- Soil erosion under downspouts
- Basements or crawl spaces getting damp
These warning signs mean runoff isn’t staying in the channel long enough to reach the outlet. You don’t need guesswork; you need more capacity, better slope, or larger downspouts.
If your home is part of a neighborhood that values solid upkeep, you’re not alone in catching this early. Fixing overflow now protects your foundation, trim, and roof edge before damage spreads.
Drip Edge and Flashing Mistakes
When you skip or misplace the drip edge and flashing, water can run behind the gutters instead of into them, increasing the risk of leaks, fascia rot, overflow, and eventual foundation damage.
You need the drip edge to direct runoff cleanly into the gutter lip, and you need flashing to bridge roof edges, valleys, and wall junctions. If you install either piece too short, too high, or in the wrong sequence, water can track under shingles and behind the system.
Check for a continuous metal line with no gaps, bends, or reverse laps. Use corrosion-resistant materials that match your roof profile, and seal overlaps only where the manufacturer allows.
When you get this detail right, you protect the whole drainage path and keep your home in the safer, well-built side of the neighborhood.
Fastener Problems That Cause Sagging
Even with the drip edge and flashing set correctly, weak fasteners can still make a gutter system fail. You need fasteners that match the fascia material, rafter spacing, and gutter load so the run stays straight and secure.
When you undersize screws or space hangers too far apart, the trough sags, pulling water away from the outlet and stressing joints.
- Use corrosion-resistant fasteners sized for exterior use.
- Anchor hangers into solid framing, not just trim.
- Keep spacing tight where snow, ice, or heavy rain adds load.
- Recheck alignment after tightening to avoid distortion.
If you install with care, you protect your home and stay part of the group that gets drainage right the first time.
Seam Sealing Mistakes That Leak
When you apply sealant too thinly or unevenly, you leave seams vulnerable to water intrusion.
If you miss joint gaps during installation, runoff will escape before it reaches the downspout.
You also need to use a sealant rated for gutter material and weather exposure, or the bond can fail and leak.
Poor Sealant Application
If you don’t apply sealant correctly at gutter seams, water will work through the joints and create leaks that can drip behind the system and damage the fascia or foundation.
You need a clean, dry surface and a continuous bead pressed into the seam, not skimmed over the top. Work methodically so each section bonds as one tight system.
- Clean away dust, oil, and old residue first.
- Apply sealant in a steady, even line.
- Tool the bead so it fills the seam.
- Let it cure before exposing it to rain.
When you rush this step, the joint looks finished but fails under flow.
Use the same careful process on every splice, and your gutter team will protect the structure with confidence.
Missed Joint Gaps
A single missed gap at a gutter joint can undo the rest of your sealing work, because water always finds the smallest opening and drives straight through it.
You need to inspect every seam before the sealant skins over, especially at inside corners, end caps, and splice plates. Run a thin bead across the full joint, then tool it so it bridges both edges and closes pinholes.
If you leave a tiny void, capillary action can pull water behind the seal and drip onto fascia or siding. Work methodically, one section at a time, and recheck each joint from below.
When you take that extra minute, you protect the system, keep your crew’s work tight, and avoid the kind of leaks that make a clean install feel unfinished.
Wrong Sealant Choice
Choosing the wrong sealant can make a careful gutter install fail fast, because not every caulk bonds well to aluminum, vinyl, or aged paint.
You need a gutter-grade, UV-stable sealant that stays flexible and cures in wet, cold, or hot conditions. Match the product to the gutter material and clean every seam before you apply it. Your crew belongs in the habit of checking labels, cure times, and temperature limits.
- Use neutral-cure sealant on metal seams.
- Skip silicone if paint adhesion matters.
- Remove dust, oil, and old bead first.
- Tool the joint for full contact.
If you seal the wrong way, water slips through seams, overflows the system, and can drive moisture toward your fascia and foundation.
How Roof Pitch Affects Water Flow
Roof pitch directly controls how quickly water moves into the gutters, and that speed affects whether the system can keep up during heavy rain.
When your roof is steep, runoff gains momentum and reaches the eaves fast, so you need gutters sized and positioned to handle a higher surge.
On low-slope roofs, water lingers longer, but debris can also settle more easily and slow flow at the entry point.
If the pitch is too severe for the gutter capacity, you’ll see overshooting, splashback, and spillover at corners.
If you’re working with a roofing team, make sure they match downspout spacing, gutter width, and hanger strength to the roof angle.
That coordination helps your system move water cleanly, protect the fascia, and stay reliable through storms.
How to Avoid Gutter Installation Mistakes
Even a well-made gutter system can fail if the installation misses key details, so you need to plan each step with precision. Measure roof sections, fascia slope, and downspout locations before you cut. Match gutter size to rainfall and roof area, and use enough hangers to prevent sagging. You’ll work more confidently when every component fits your layout.
- Set a consistent pitch toward each outlet.
- Seal joints with compatible gutter sealant.
- Fasten hangers into solid framing, not trim.
- Test flow with water before cleanup.
Check seams, end caps, and splash zones for leaks. If you’re part of a crew, confirm each step together so everyone catches errors early.
That habit helps you avoid overflow, protect the foundation, and build a system your neighbors trust.
Conclusion
If you overlook gutter alignment, sizing, or sealing, you’re likely to invite a few unwelcome complications. A slight slope error, a poorly placed downspout, or a weak fastener can gently encourage overflow, leaks, and sagging. By checking pitch, matching gutter capacity to your roof, and sealing every joint carefully, you’ll keep water moving where it should. That practical attention helps you avoid bigger repairs and keeps your drainage system working smoothly.
Steering clear of gutter installation mistakes is the best way to protect your roof, siding, and foundation. If you want the job done right the first time, our team offers professional gutter installation and replacement built to handle heavy runoff. Have questions about gutter installation mistakes on your home? Contact Arko Exteriors today. To learn more about how these systems work, see this overview of rain gutters.